January 26, 2023
Back to Reports
January 26, 2023
Employee Timesheets Report
The report gives you an overview of the work each user of your company has done. Using this report, you can find out how much you need to pay your employees.
In this report, you are able to
- Check the details of the Services performed per user
- Organize your columns to view in your preferred order
- Archive and unarchive records
- Create a manual record
- Export your data
- Push your records into your Quickbooks online account
Check the details of the Services performed per user
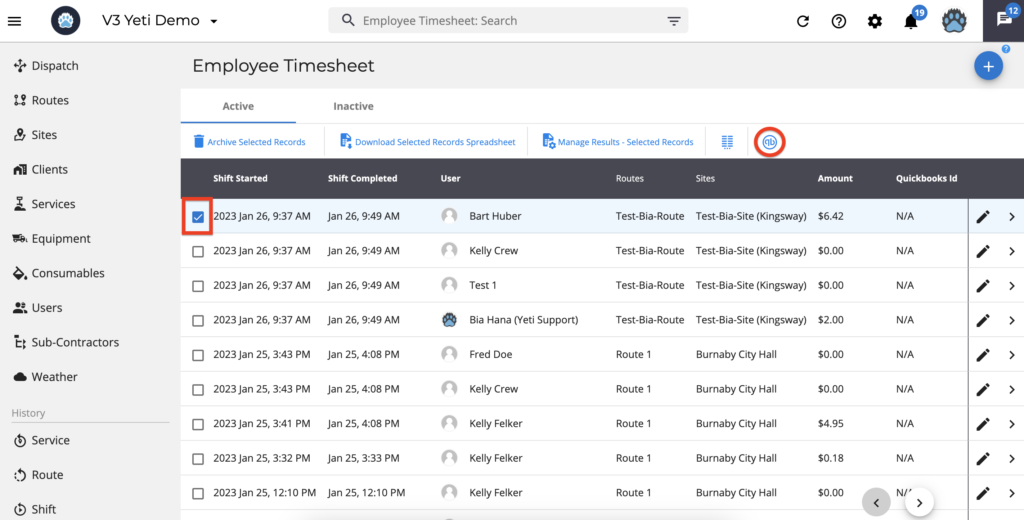
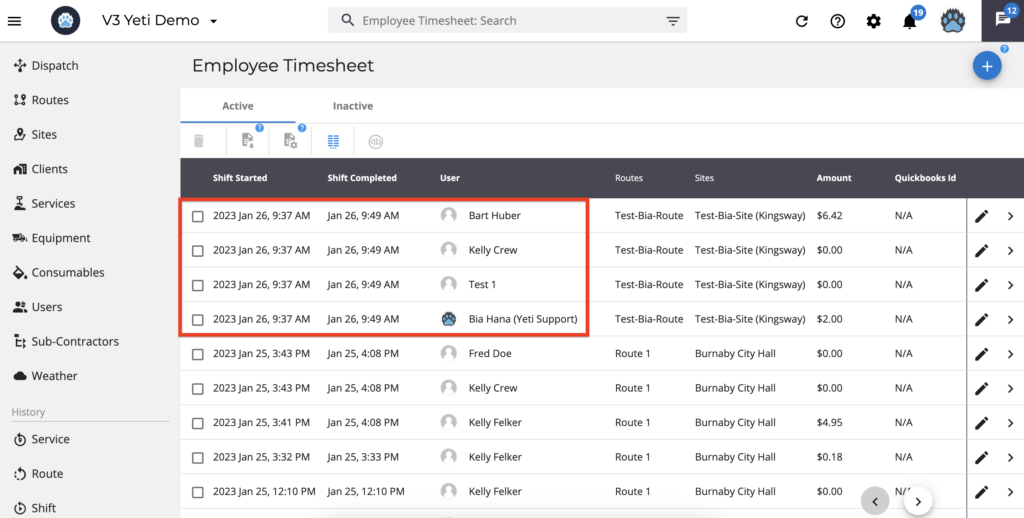
Below is a screenshot of the Service History report, which shows that four Operators performed the Shift. Due to the fact that it is paid per employee, the same record appears in four rows on the Employee Timesheet Report.

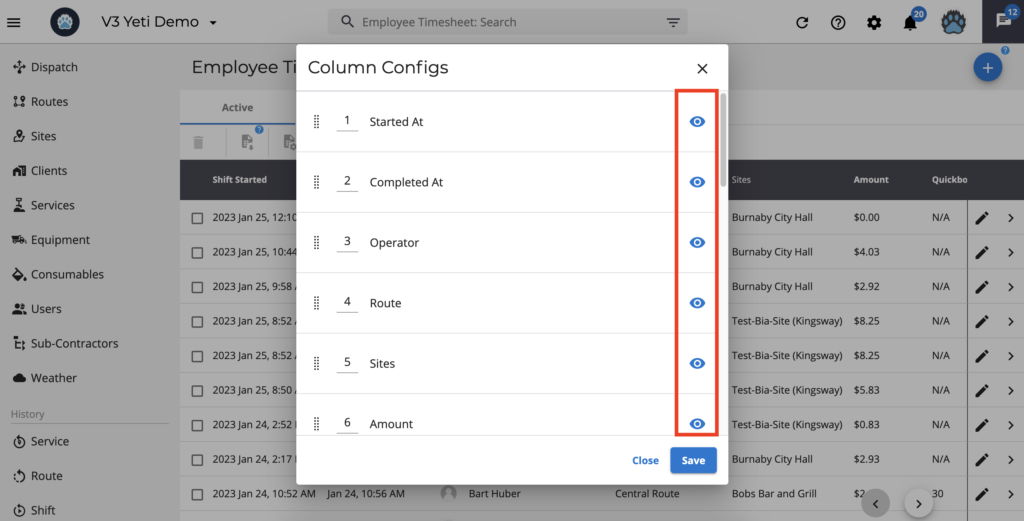
Organize your columns to view in your preferred order
Columns can be arranged in any order by typing the number of the column. For example, if you type the number ‘2’ in ‘Sites’, you will see ‘Started At’ in the first column and ‘Sites’ in the second column.
When you disable a field by clicking on the ‘eye icon’, it will not appear on your view page.

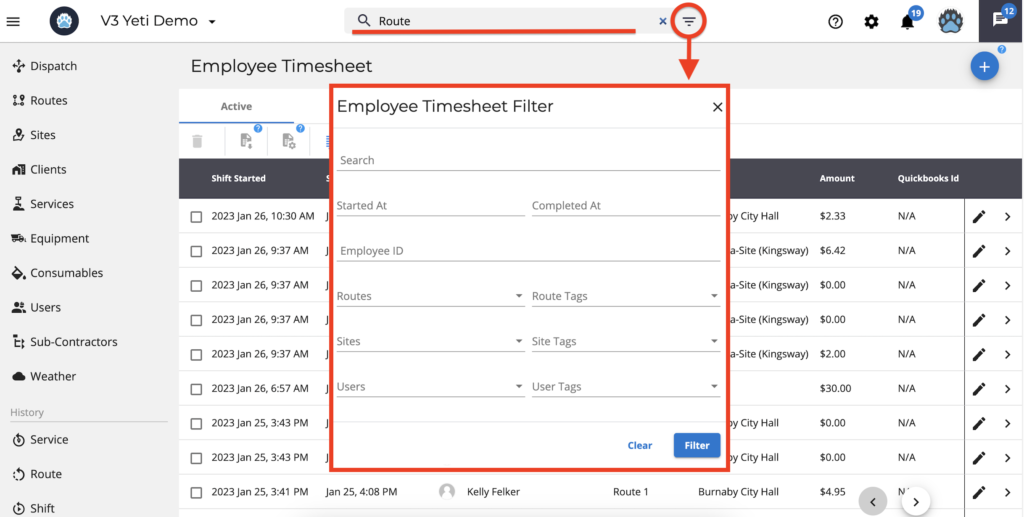
The filter can be used by typing in the search field or by clicking on it. Then select the data you are looking for, such as Route, Site, User, etc.
Archive and unarchive records
The records can be archived or unarchived by selecting them or using the filter.
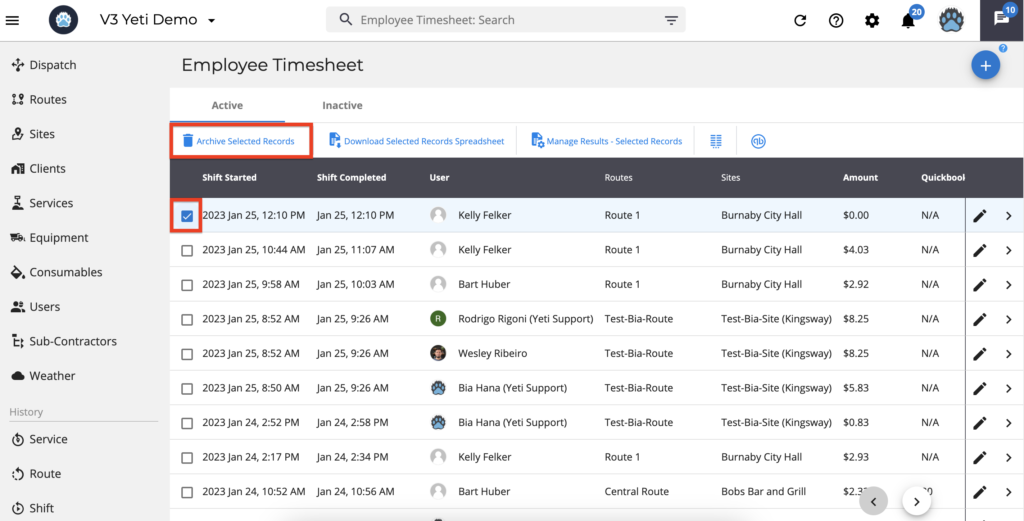
To archive your records click on the button ‘Archive Selected Records’.
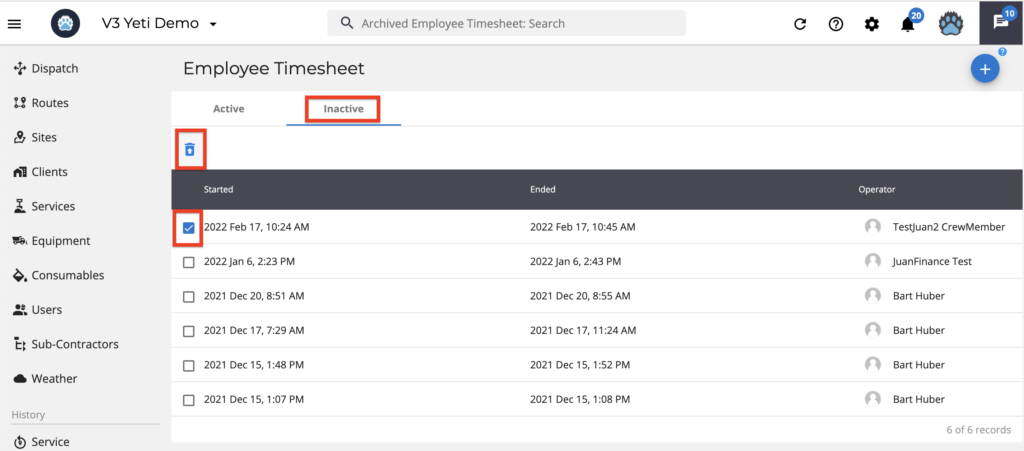
To unarchive your records, click on the ‘Inactive’ tab, select the record and click on the ‘restore icon’.
Create a manual record
If the Operator’s device isn’t working or the crew leader forgot to put the Operator into the shift, you can create a manual record to register the amount to be paid to the Operator.
In order to create a manual record, click on the ‘add button’, and a pop-up window will show. Select the Operator, date, and time and type the hourly rate.
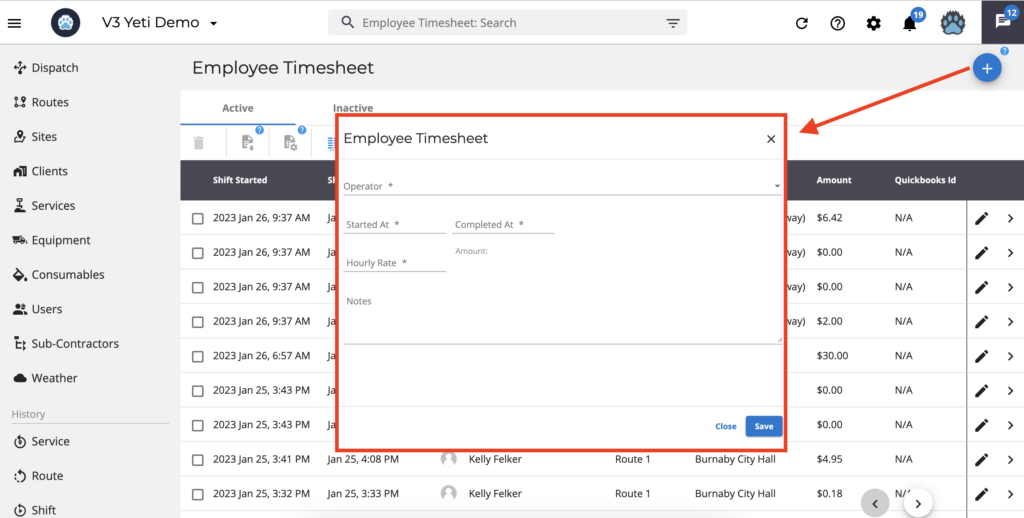
Note:
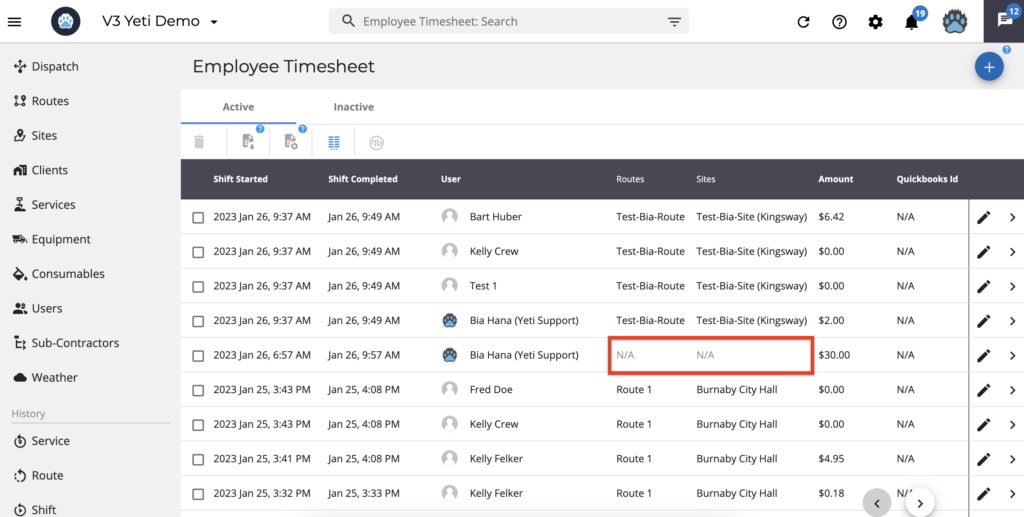
- Manual record will show Route and Site as ‘N/A’.
- Manual records will automatically populate the rate when you select the Operator.
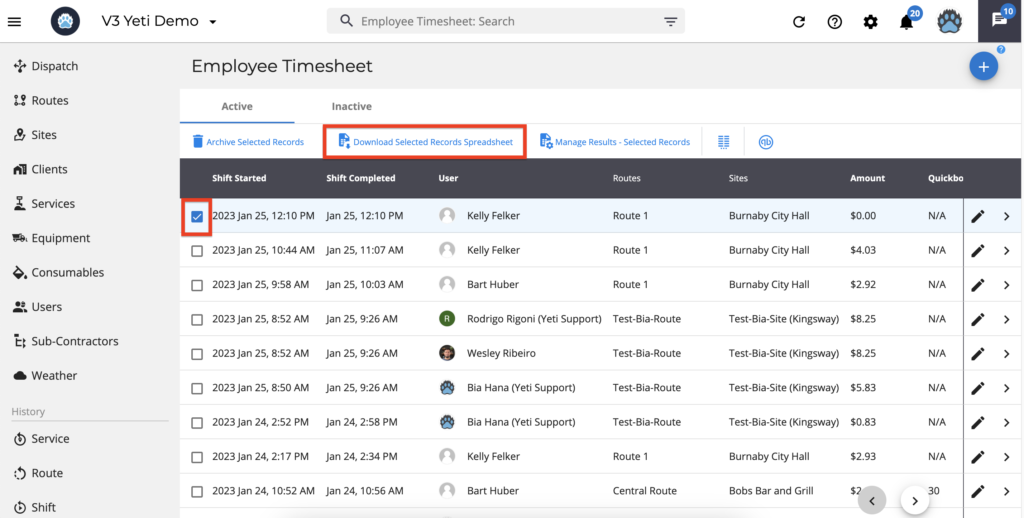
Export your data
Here you have two options to export your data.
- Download the records according to the date and time registered on the Shift.
- Download the records by selecting a specific date and time.
If you choose the first option, click on ‘Download Selected Records’ after selecting the record or filtering the results.
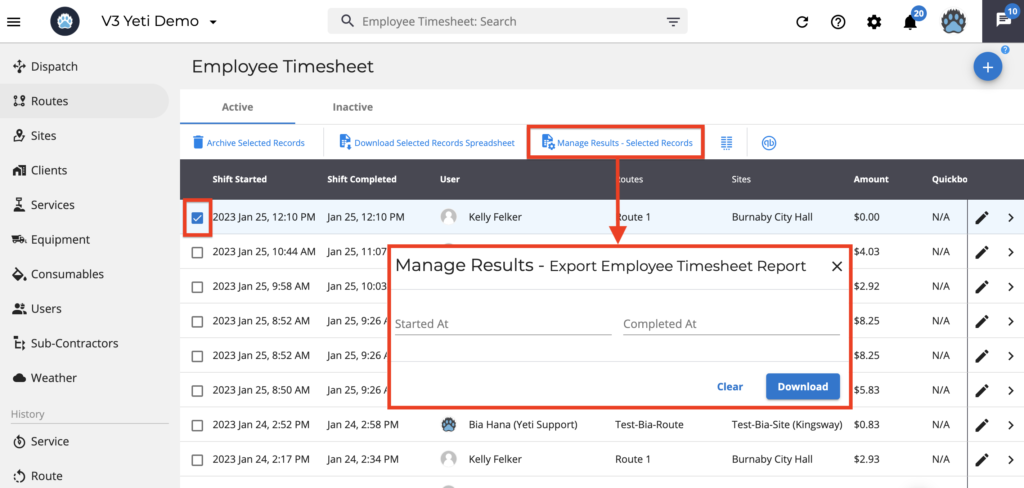
If you choose the second option, select the record or use the filter and click on ‘Manage Results – Selected Records’. A pop-up window will show, select the date and time and click on ‘Download’.
The report can be used when you need to pay your employee within a certain timeframe. For example, you need the range from day 10 at 12:00 am to day 17 at 11:59 pm.
Push your records into your Quickbooks online account
You can push your records into your Quickbooks online account. Select the record and click Quickbooks icon to push it. Click here for more information.