August 24, 2022
Back to Account Help
August 24, 2022
Setting up Salesforce + Zapier for Yeti Sub-Contractor
In order to integrate Salesforce with Yeti software, Yeti company uses Zapier.
Zapier provides workflows to automate the use of web applications together. It is often described as a translator between web APIs, helping to increase worker productivity by saving time through automation of recurring tasks, and business processes such as lead management.
Salesforce and Yeti are integrated for three features.
To make this integration work, you need to create 6 “zaps” on Zapier. Three “zaps” are required to build links for the new records, such as the Client, Sub-Contractor, and Site. The other three “zaps” refer to the updated record on Client, Subcontractor, and Site. Once these 6 “zaps” are completed, you can create and update data in Salesforce and it will automatically be pushed to Yeti. You may have to wait up to 30 minutes for Salesforce records to appear in Yeti environment after you created/updated your records.
Follow the steps below to build your Sub-Contractor integration with Salesforce using Zapier.
1. Go to “zapier.com” and create an account or log in.

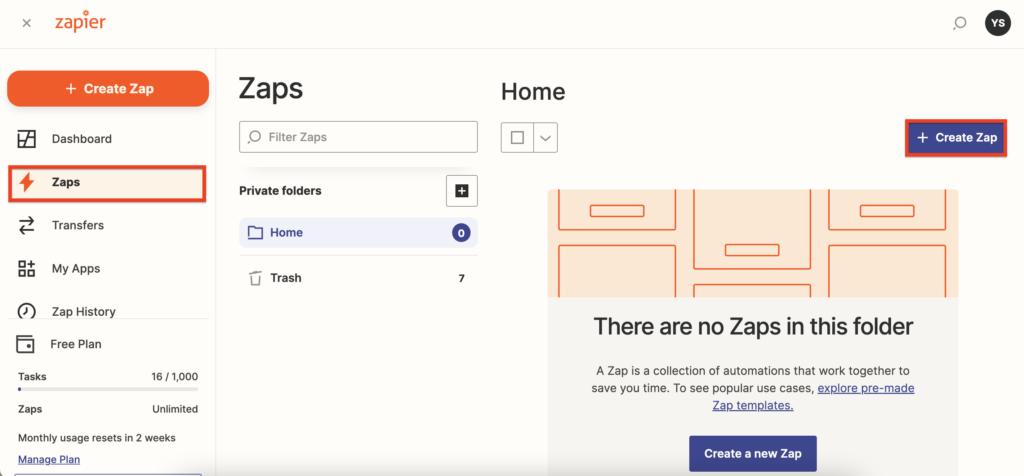
2. On the menu, click on “Zaps” and “Create Zap”.
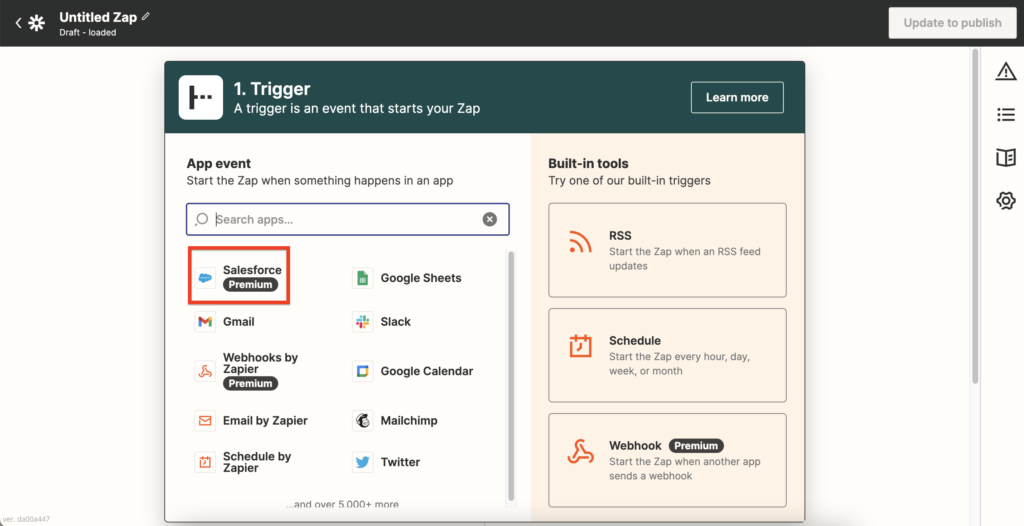
3. Click on “Salesforce”.
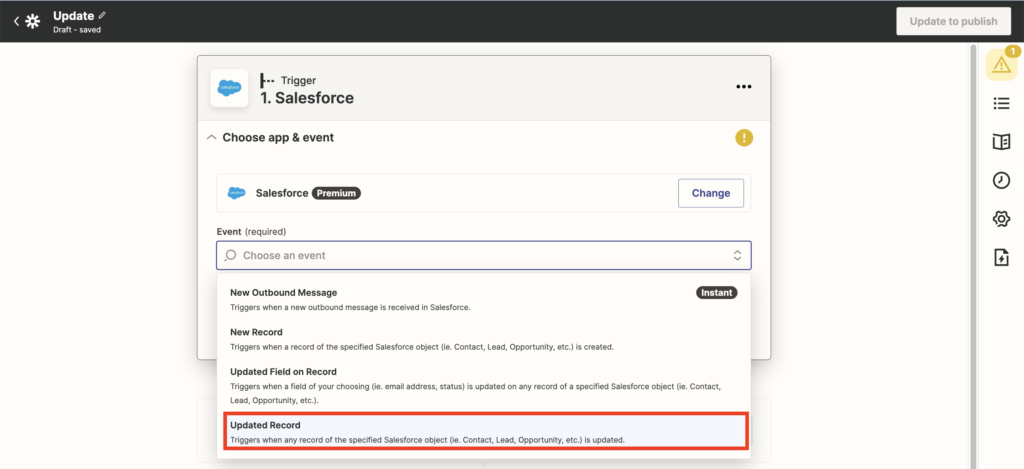
4. Select “New Record” to create the link between Accounts (Salesforce) and Sub-Contractor (Yeti).

When you create another “zap” to update your client information on Yeti when you edit “Accounts” on Salesforce, you need to select “Updated Record”.
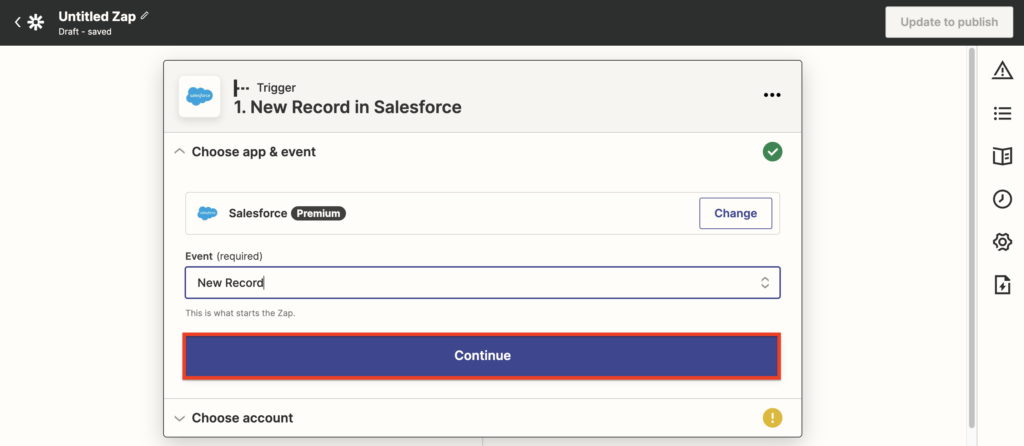
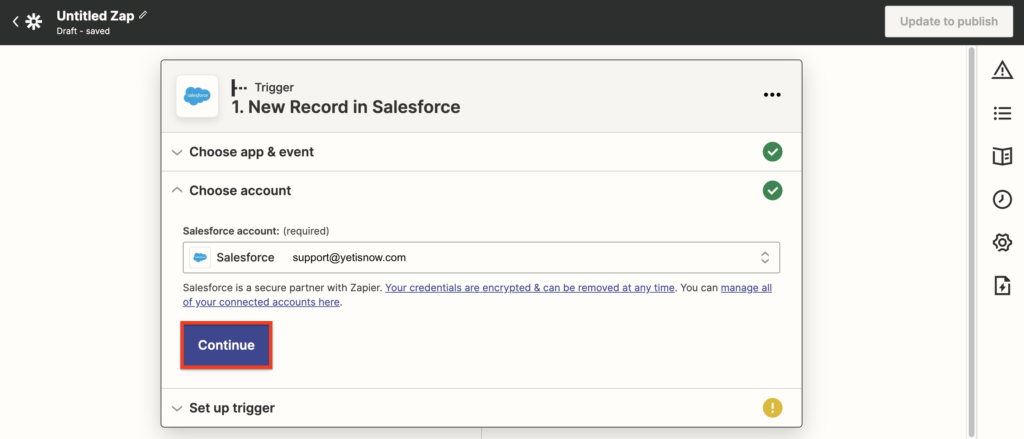
5. Click on “continue”.
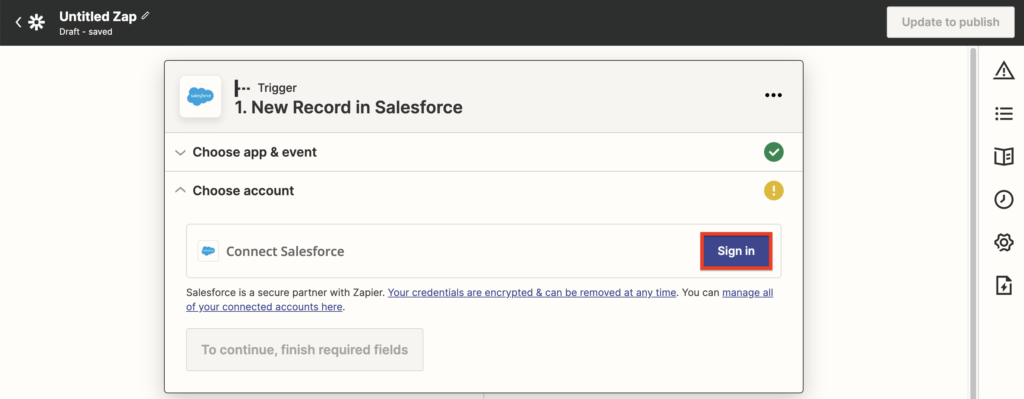
6. Click on “Sign in”.
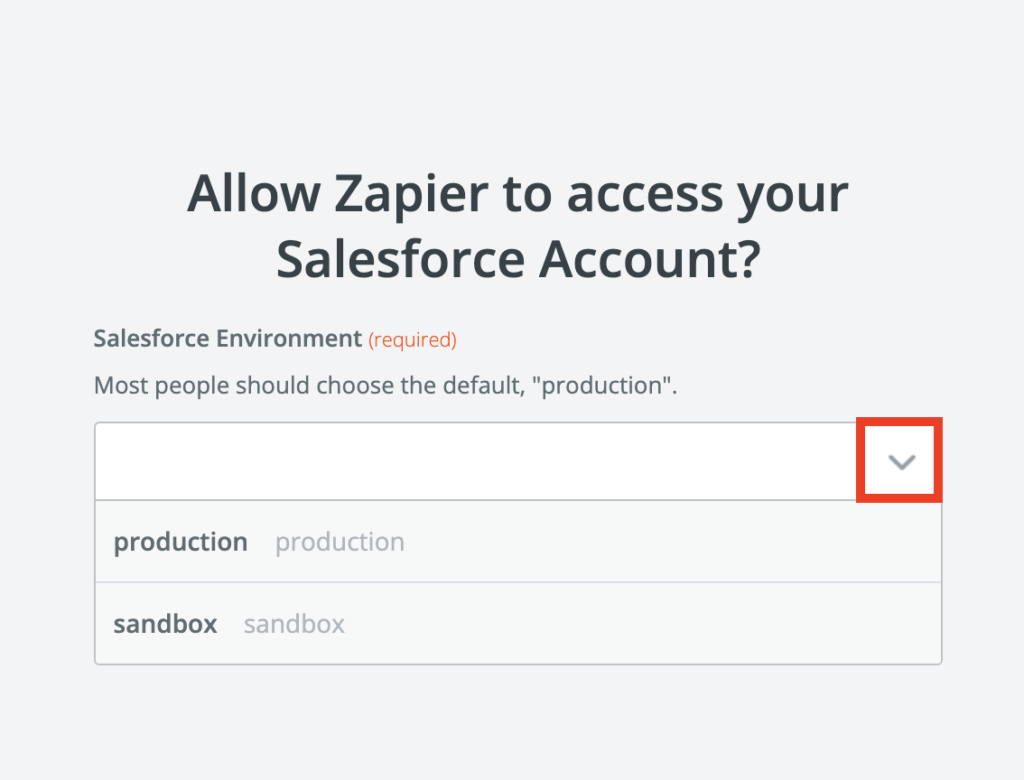
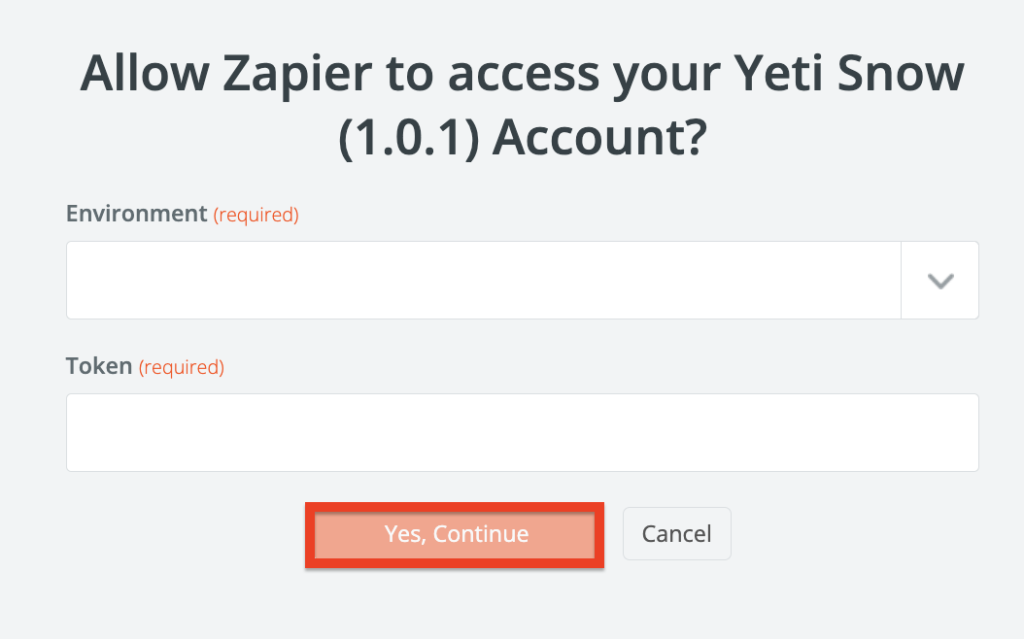
7. A pop-up window will appear. Select the environment where you want the integration to be made.
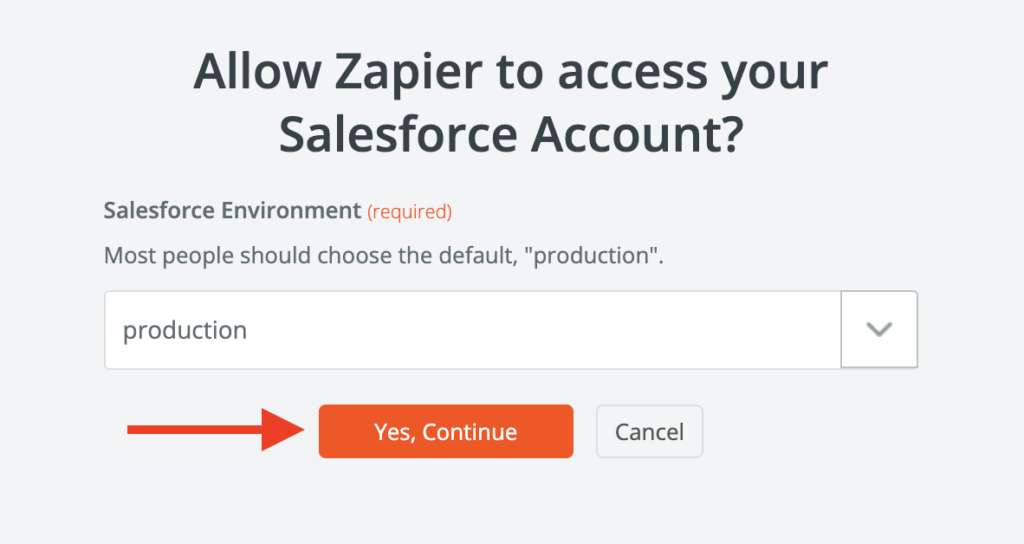
8. Click on “Yes, Continue”.
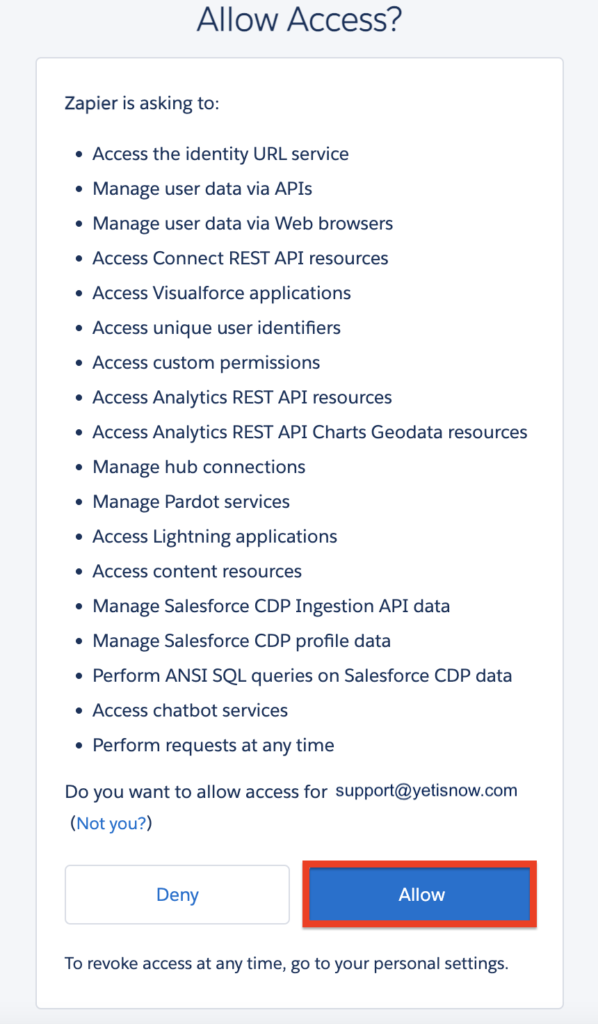
9. The Salesforce pop-up window will appear. Put in your username and password.
10. Click on “Allow”.
11. Click on “Continue”.
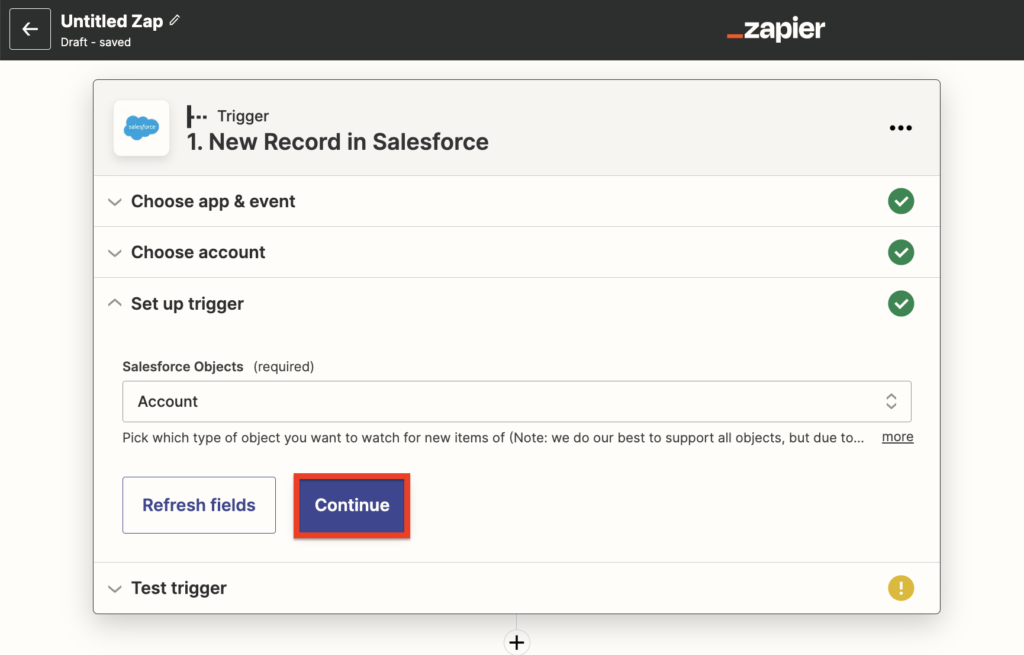
12. Search for “account” and select the object “Account”. In this step, you can create the link based on the business rules you have on Salesforce. For instance, if you register Sub-Contractor using Salesforce’s “Contacts” menu, select the field “Contact” to make this link instead of “Account”.

13. Click on “Continue”.
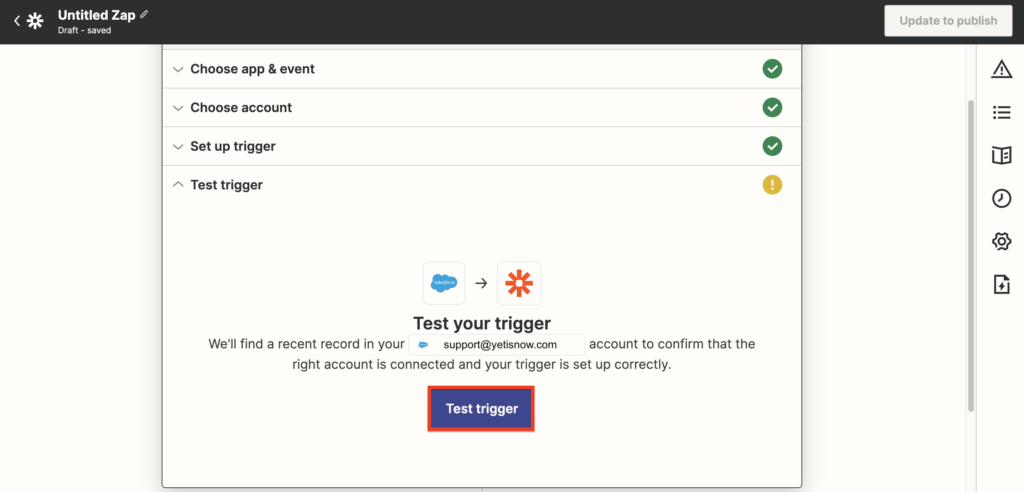
14. Click on “Test trigger”.
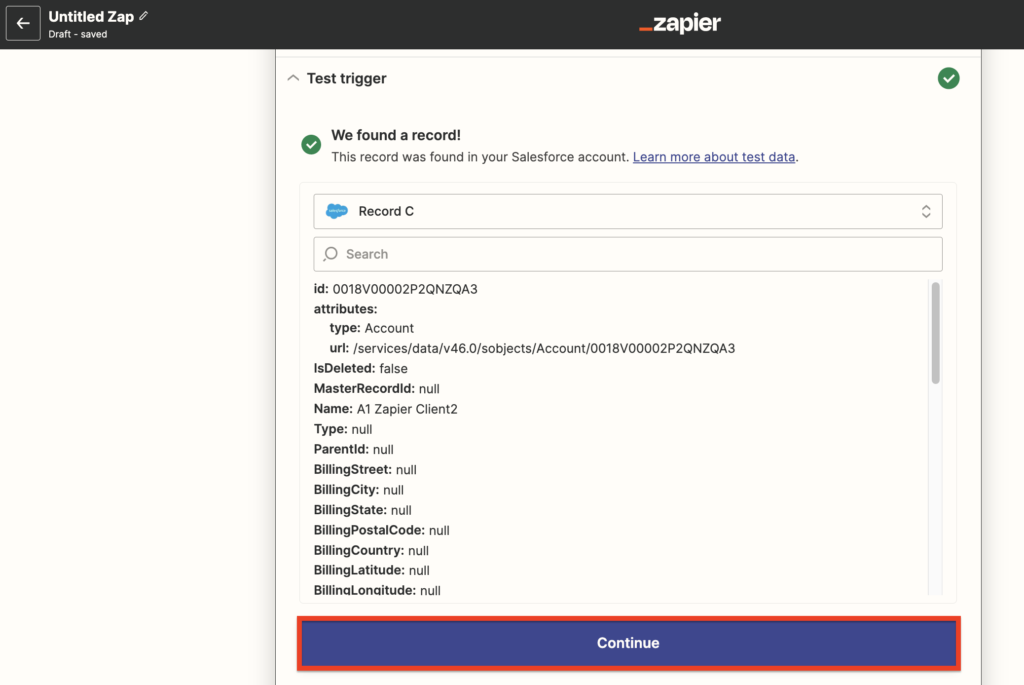
15. Click on “Continue”.
16. Search for “YETI” and select Yeti Snow “latest”.
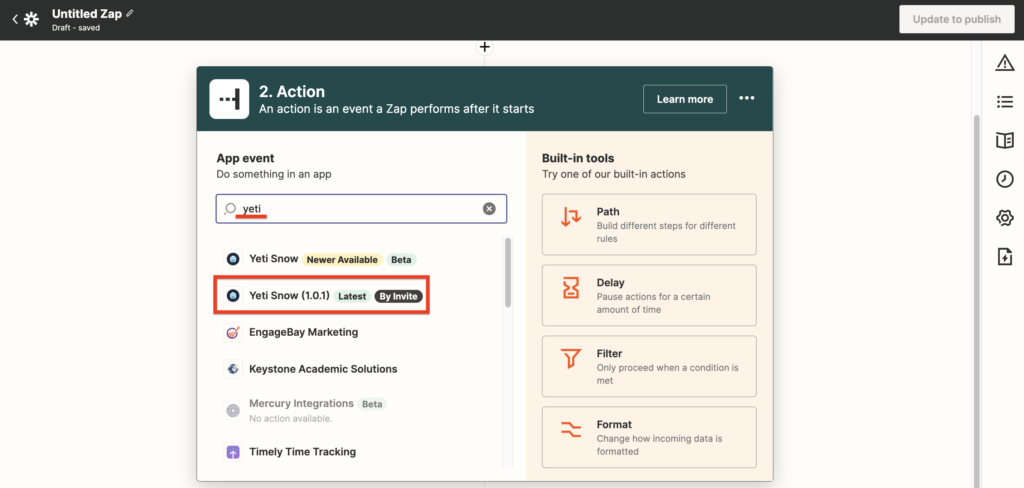
17. Select the event “Create Sub-Contractor”.
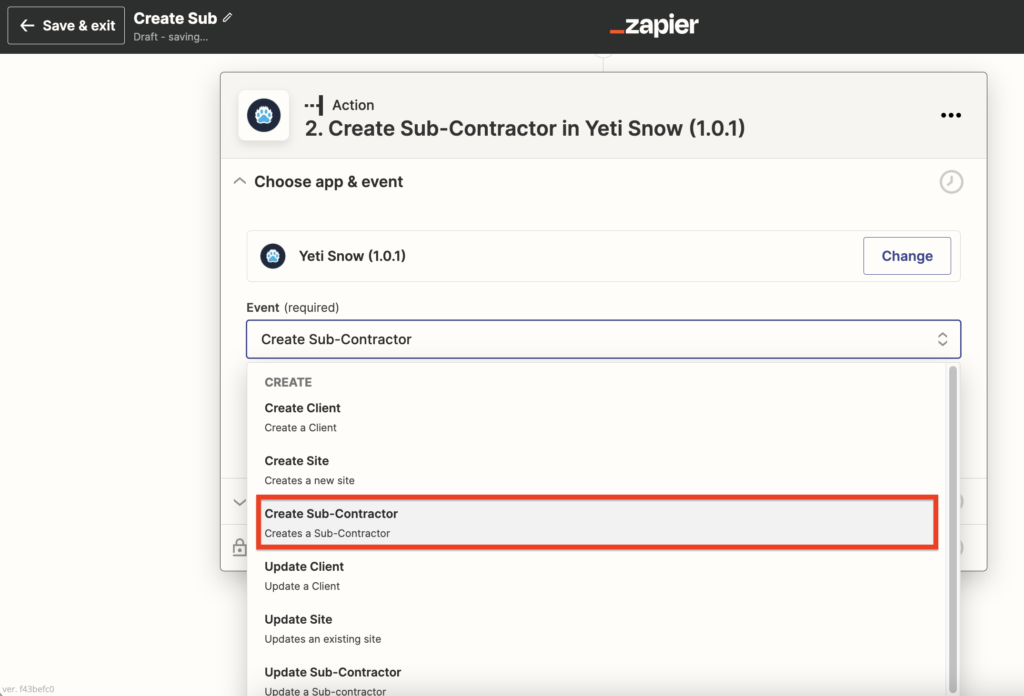
When you create the new link to update your “Accounts”, select the option “Update Sub-Contractor”

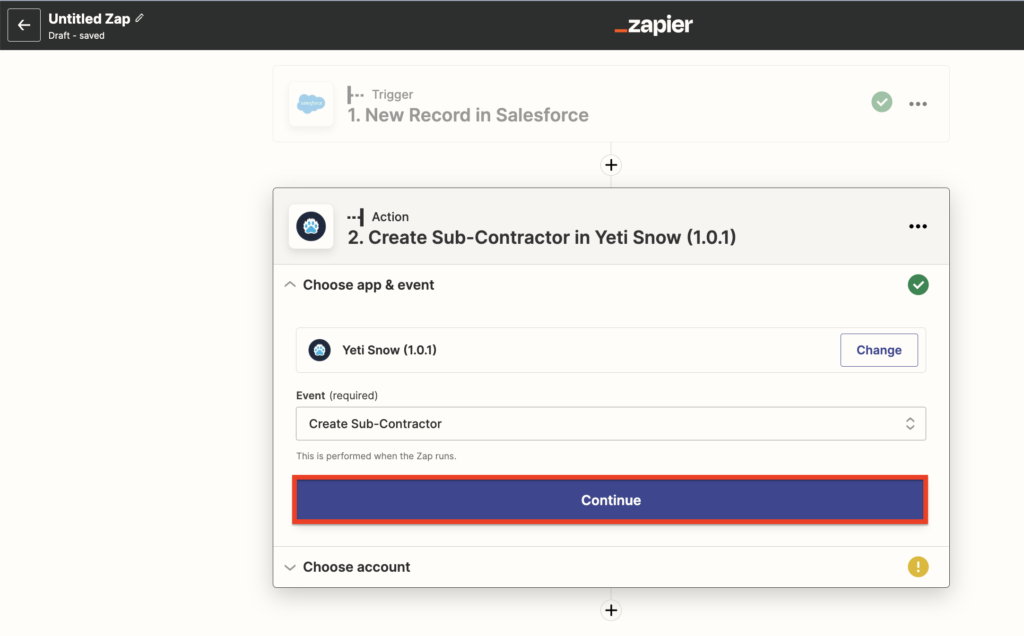
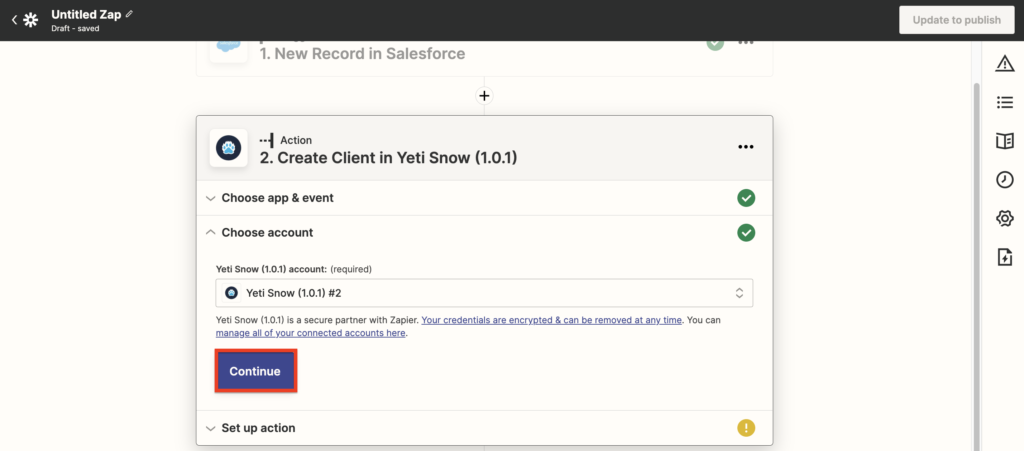
18. Click on “Continue”.
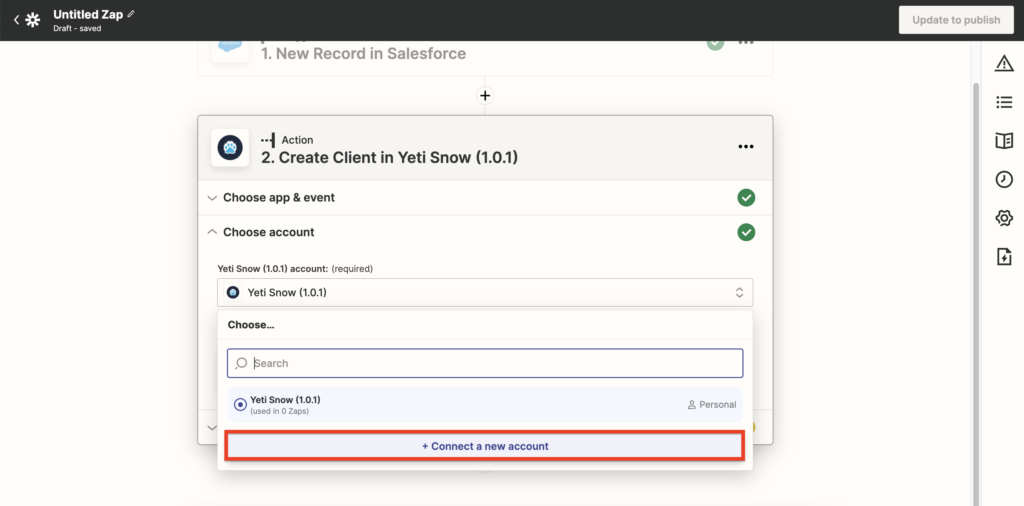
19. Click on “connect a new account”. This option integrates your Yeti Snow account.
20. A pop-up window will appear. Select the environment where you want the integration to be made, and insert the Yeti token. The following steps demonstrate where the Yeti token can be found.
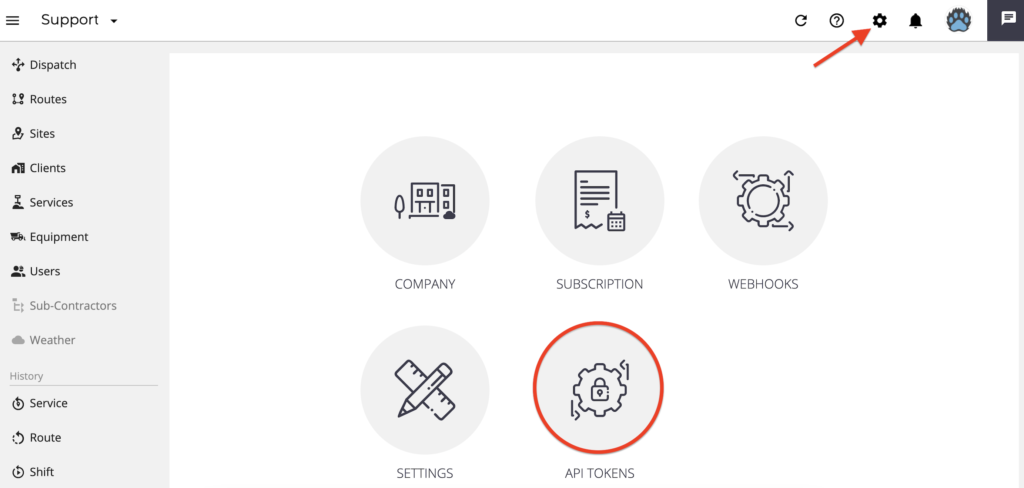
21. Go to settings and click on “API TOKENS”.
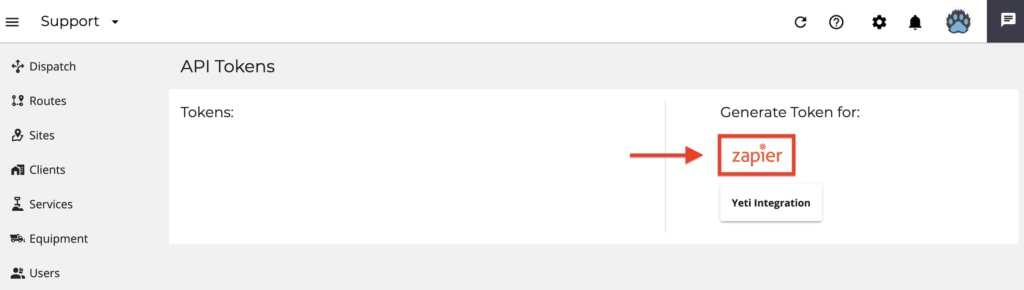
22. Click on “zapier” to generate your token.
23. Copy the link.
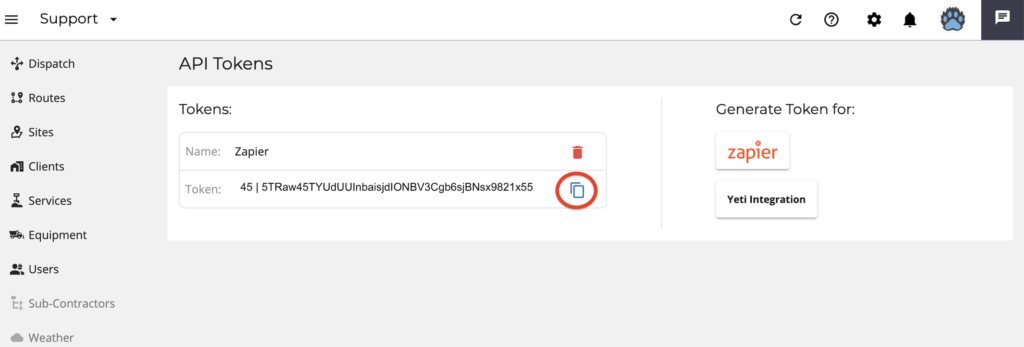
Insert the token in the pop-up window and click on “Yes, Continue”.

24. Click on “Continue”.
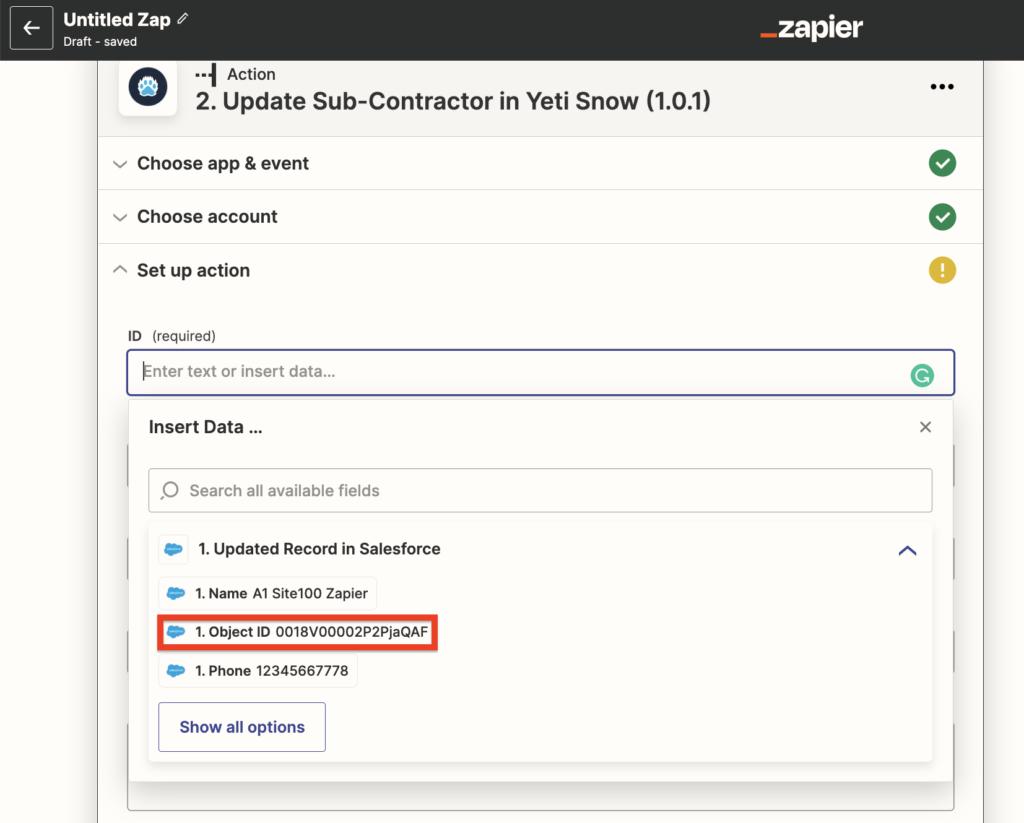
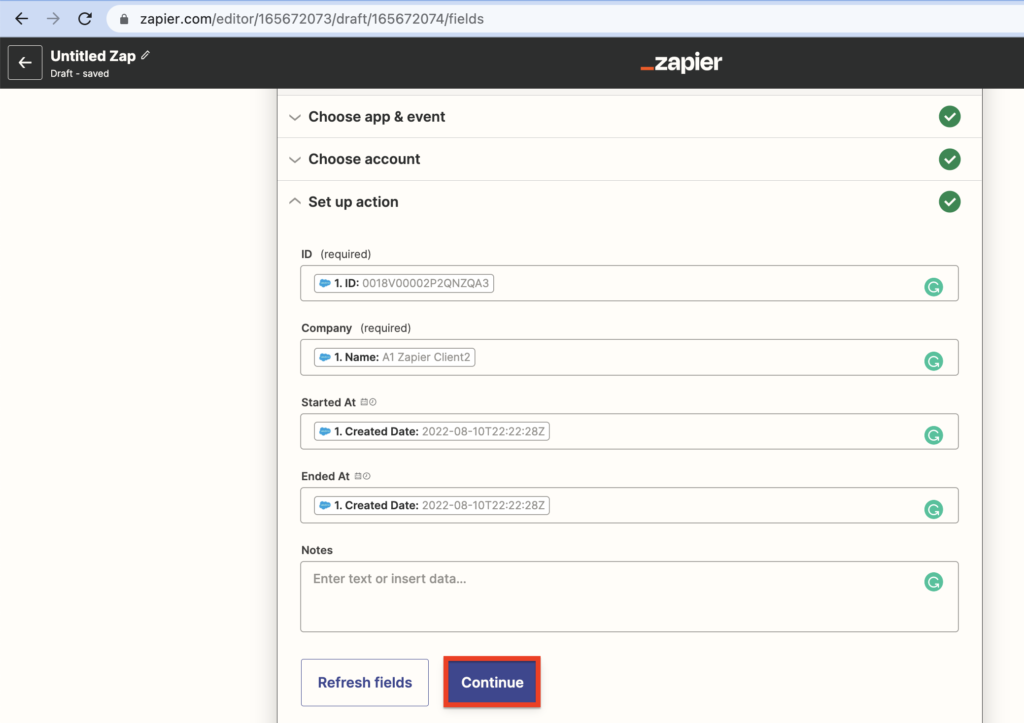
25. In this step, you will set up the fields in your Salesforce account that will appear in Yeti.
Search for “id” and select “ID”.

When you make the link to “update” your Sub-Contractor, you need to select “object id”.
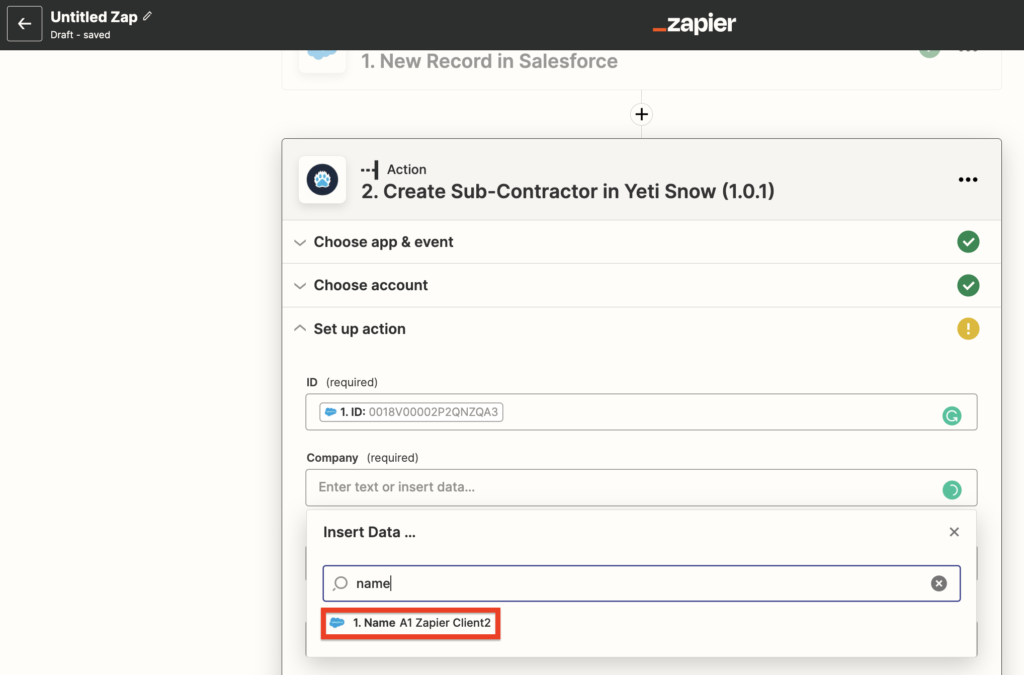
26. Search for “name” and select “Name”.
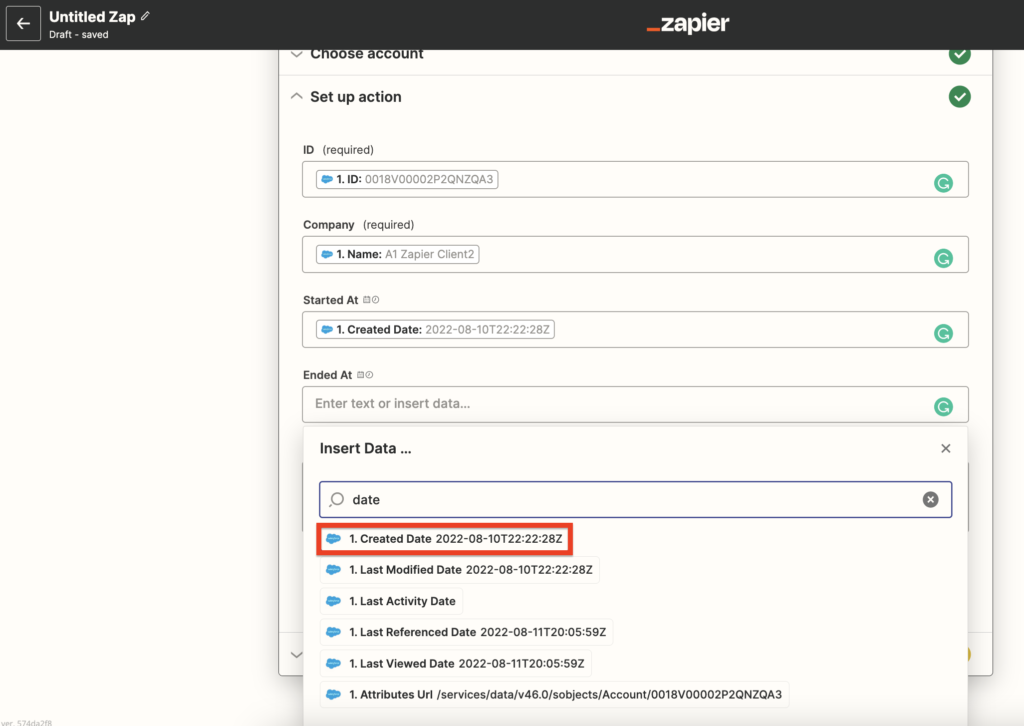
27. Search for “date” and select “Created Date” for “Started At” field.

28. Search for “date” and select “Created Date” for “Ended At” field.
29. Click on “continue”.
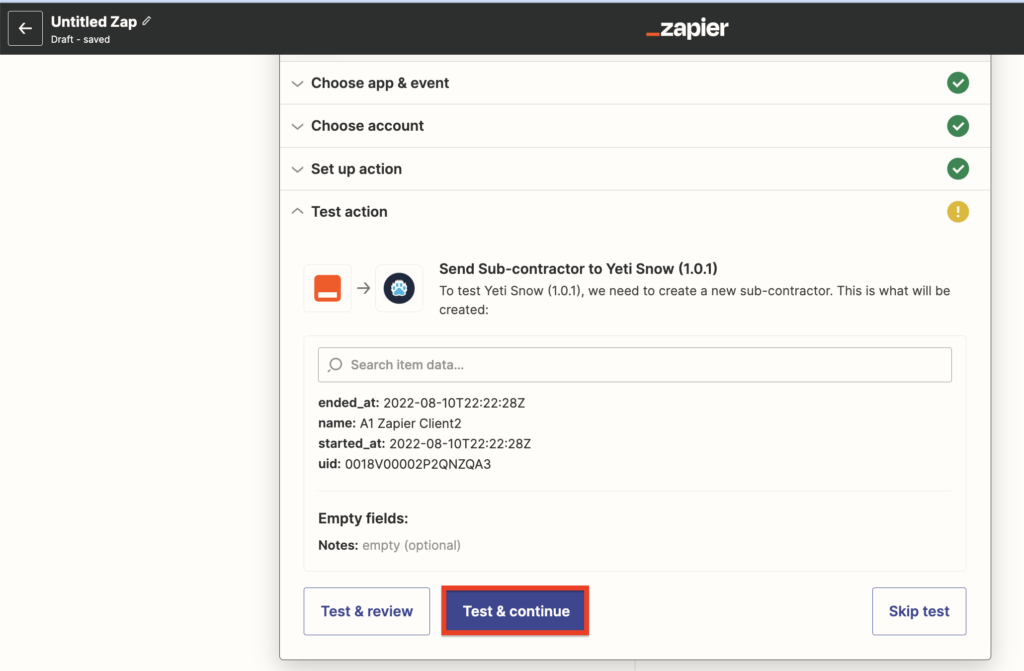
30. Click on “Test & continue”.
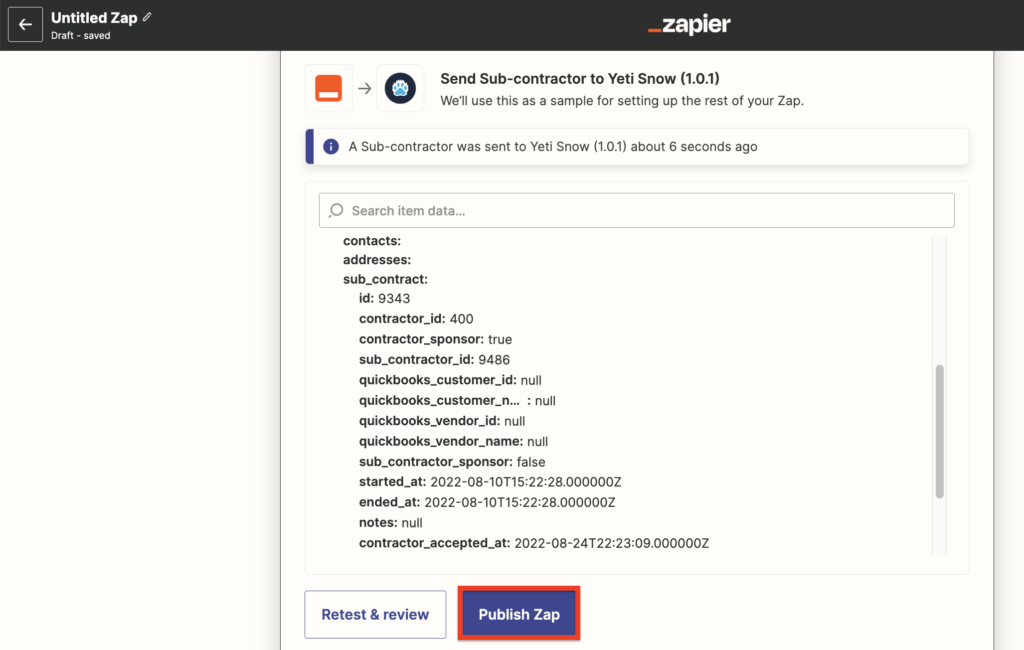
31. Click on “Publish Zap”.
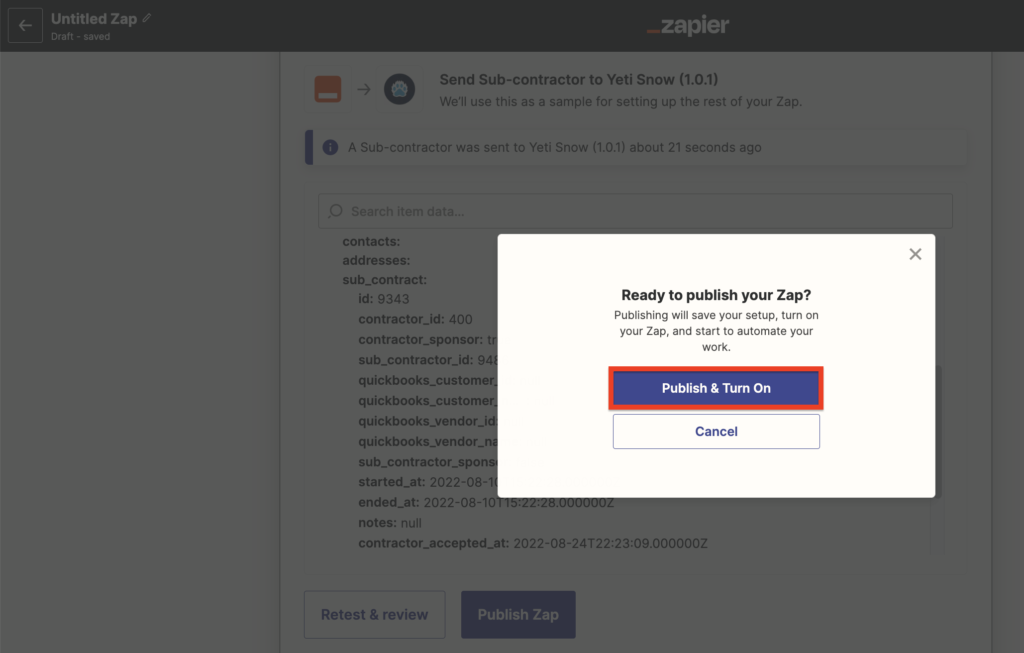
32. Click on “Publish & Turn On”.
33. Click on “Go to My Zaps”.

34. Now you can see the link that you created on the page “Zaps”. You can rename this link as “Create”.
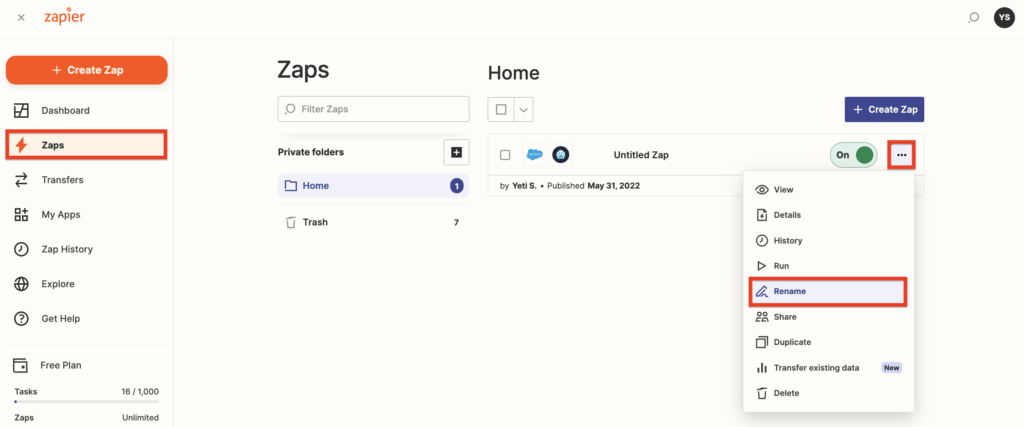
The next step is to “Create Zap” which updates your client information on Yeti when you edit your Sub-Contractor on Salesforce. Following the same steps as above, select “Update Record” as shown in step 4.
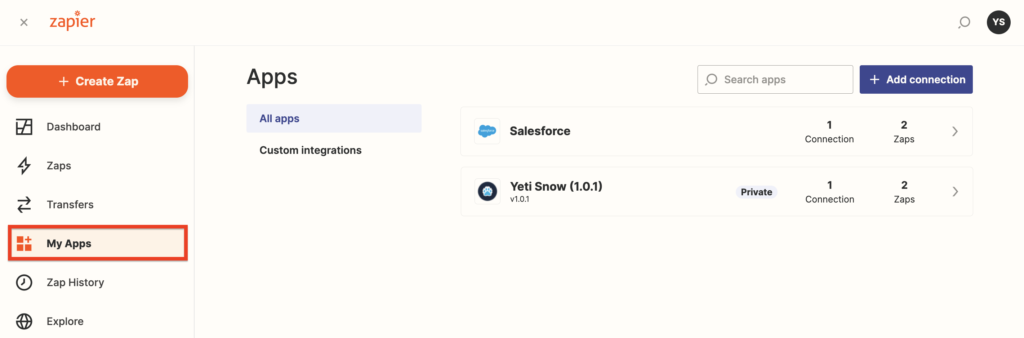
35. Now you can see the Zapier apps that you created to connect Salesforce with Yeti.
36. Accounts created on Salesforce appear on your Yeti Clients page.
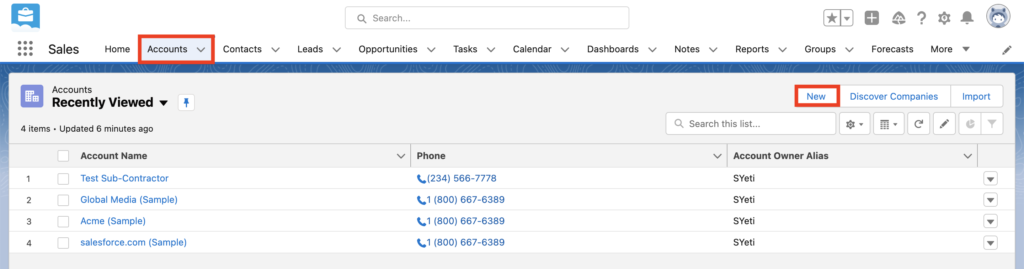
37. You can edit your Accounts on Salesforce and Yeti will update automatically.

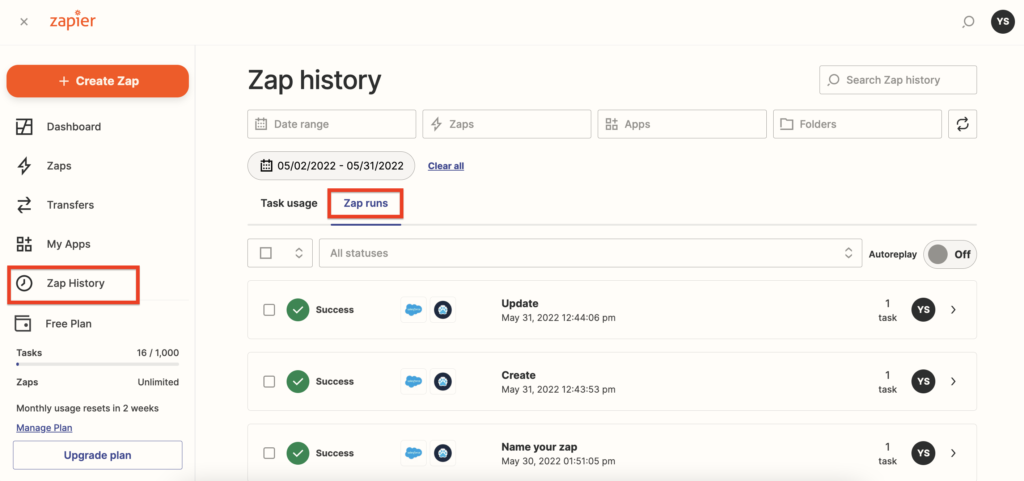
38. All records in Salesforce that you created or edited can be found in “Zap History” > “Zap runs”.
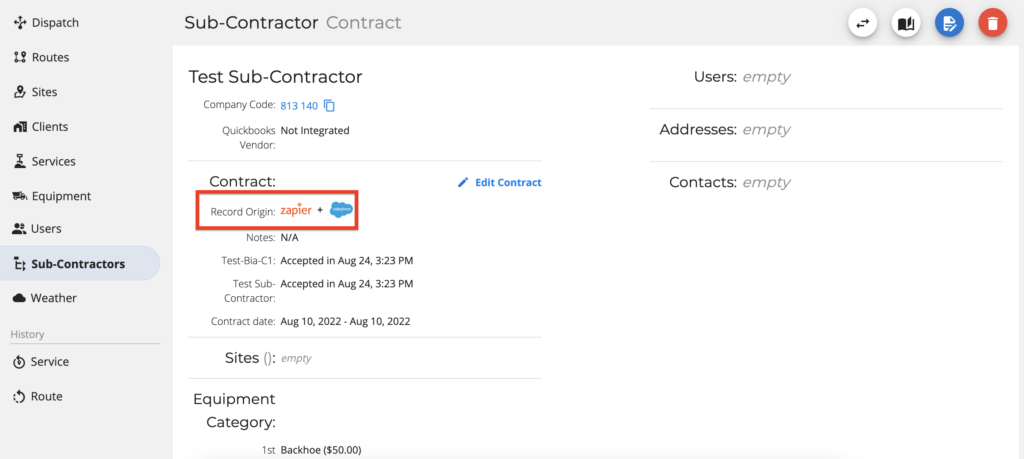
39. If you look in your Yeti, you’ll see your Clients with “Record Origin,” which identifies that the Client originated from Salesforce.
The fields below are data of what Yeti and Zapier expect to receive through the integration.
| Id | string | Universal ID from Object selected | |||
| Company | string | Name of the company | |||
| Started at | dateTime | Date when contract start | |||
| Ended at | dateTime | Date when contract end | |||
| Notes | text | Additional information to the contract | |||